Introduction of Law management system
The Law Management System Odoo Application is a user-friendly legal case management software that helps lawyers manage daily tasks efficiently. This legal practice management software offers solutions for client management, case tracking, and administrative work. Lawyers can easily create and manage legal advice, track case progress, and organize evidence and witness details in one place.
Manage Hearings and Client Feedback
The app simplifies invoicing for consultations or case hearings and sends automatic email reminders for upcoming hearings, keeping clients and lawyers prepared. After hearings, judgments can be recorded, and cases marked as completed or scheduled for the next hearing. A client portal lets clients view case details, download advice, and print documents as PDFs, while also providing feedback.
Track Documents and Simplify Legal Work
The law practice management Odoo software provides menus for document and evidence tracking, advanced dashboards for activity overviews, and high-level security features that make any legal practice operate efficiently. With support for multi-company setups, it becomes suitable for all law firms, big or small. This system makes legal processes simple so that lawyers can focus on providing the best service to clients.
Why Legal Professionals Need an ERP Solution
The legal industry is no stranger to complex workflows, including managing case details, tracking deadlines, handling client interactions, and maintaining compliance. Without a centralized platform, these tasks often lead to inefficiencies and errors. An ERP system like Odoo bridges this gap by providing:
- A single platform for managing all legal operations.
- Automated processes to reduce manual work.
- Insights and reports for better decision-making.
- Secure access to sensitive data.
Features of Law and Legal ERP Practices Management System
Advanced Dashboard & Analytics
The dashboard clearly shows legal activities, showing case progress, hearing schedules, and performance metrics with easy-to-read reports, charts, and tables.
User Roles & Permissions
Lawyers handle their cases and tasks, while administrators access all data. Role-based permissions ensure security and simplify workflows.
Customizable Legal Configurations
Set up case stages, practice areas, courts, and judges to match your firm's specific needs for smooth case tracking and management.
Law Advice Management
Easily create legal advice, track consultations, generate invoices, and turn accepted advice into cases. Bulk closures save time when managing multiple advice records.
Case Management
Track case progress, add evidence, schedule hearings, and invoice clients for the entire case or individual hearings. Flexible billing makes it convenient for lawyers.
Hearing Management
Log hearing details, notify clients and lawyers by email, add evidence and witnesses, record judgments, or schedule new hearings. Notifications ensure that no one misses important updates.
Document & Evidence Management
Keep case-related documents and evidence well-organized with separate menus for quick access to uploaded files and filings linked to cases or hearings.
Client & Lawyer Profiles
Client profiles show associated cases, evidence, and hearings, while lawyer profiles provide quick access to their advice, cases, and hearings.
Reporting & Analysis
Generate detailed PDF reports on cases and hearings with filters to view specific dates and performance insights. Analyze outcomes for better decision-making.
Security & Multi-Company Support
Multi-company support allows secure data handling with role-based access. Lawyers view only their data, while administrators access everything.
Workflow of Law Management System
Advanced Dashboard
The dashboard provides an overview of all legal activities. Through a centralized view, users can efficiently monitor cases, hearings, invoices, and advice.
Workflow Steps
Step 1: Initial Configurations
Before starting, configure the necessary terms, conditions, tags, and custom fields to align with your legal practice needs.
Step 2: Create Law Advice

- Navigate to the "Create Advice" menu.
- Enter client details, advice description, and other relevant information.
- Attach files if needed by clicking the pin icon to upload documents.
Step 3: Create an Invoice for Advice

- Generate an invoice for the legal advice provided.
- Ensure all details, including consultation fees and additional charges, are accurate.
- Save and confirm the invoice.
Step 4: Generate Case from Advice
- Convert accepted legal advice into a case by selecting the "Generate Case" option.
- Automatically link advice details to the new case for seamless tracking.
Step 5: Add Hearing to the Case
- Add hearing schedules into the case with date, time, and location details.
- Include evidence and witness information specific to the hearing.
Step 6: Add Evidence to the Hearing
- Use the "Add Evidence" menu to upload documents or attach files to the hearing.
- Ensure all critical evidence is linked and well-organized for easy reference.
Step 7: Record Hearing Judgement
- After the hearing, enter the judgment details into the system.
- Schedule the next hearing, if needed, or mark the hearing as concluded.
Step 8: Auto-Marking Cases as Won
- When a hearing is marked as won, the system automatically updates the case status to "Won."
- Notifications are sent to both the client and the lawyer.
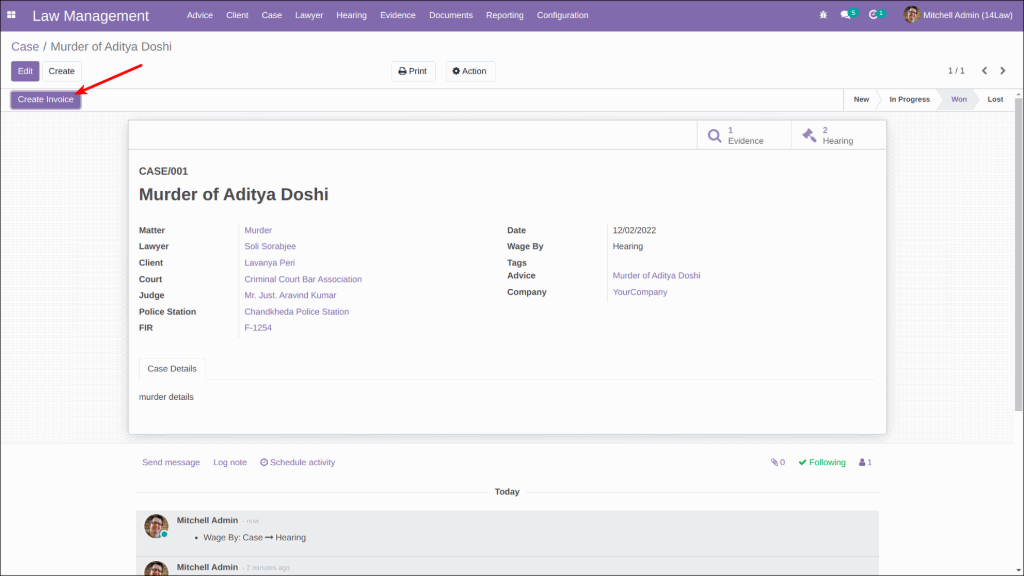
Step 9: Create an Invoice for the Case
- Generate an invoice for the entire case or individual hearings.
- Confirm and save the invoice in the system.
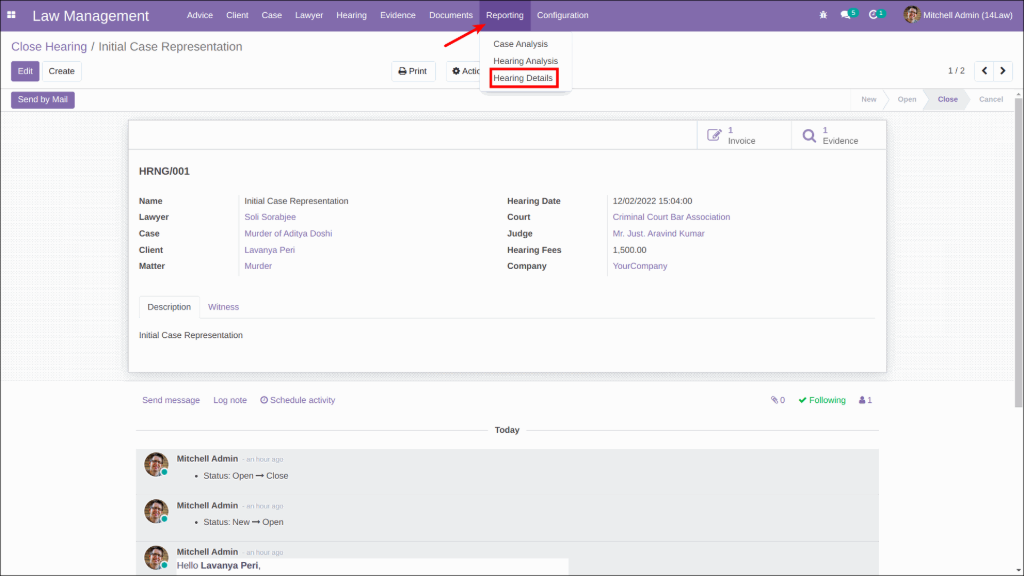
Step 10: Print Reports

Use the dashboard to print detailed reports:
- Case Reports
- Hearing Reports
- Hearing Details Reports
Step 11: Update Mass Tags
- Access the "Update Mass Tag" menu to edit or add tags to multiple records.
- Select the desired tag, click "Update," and review the updated tag on records.
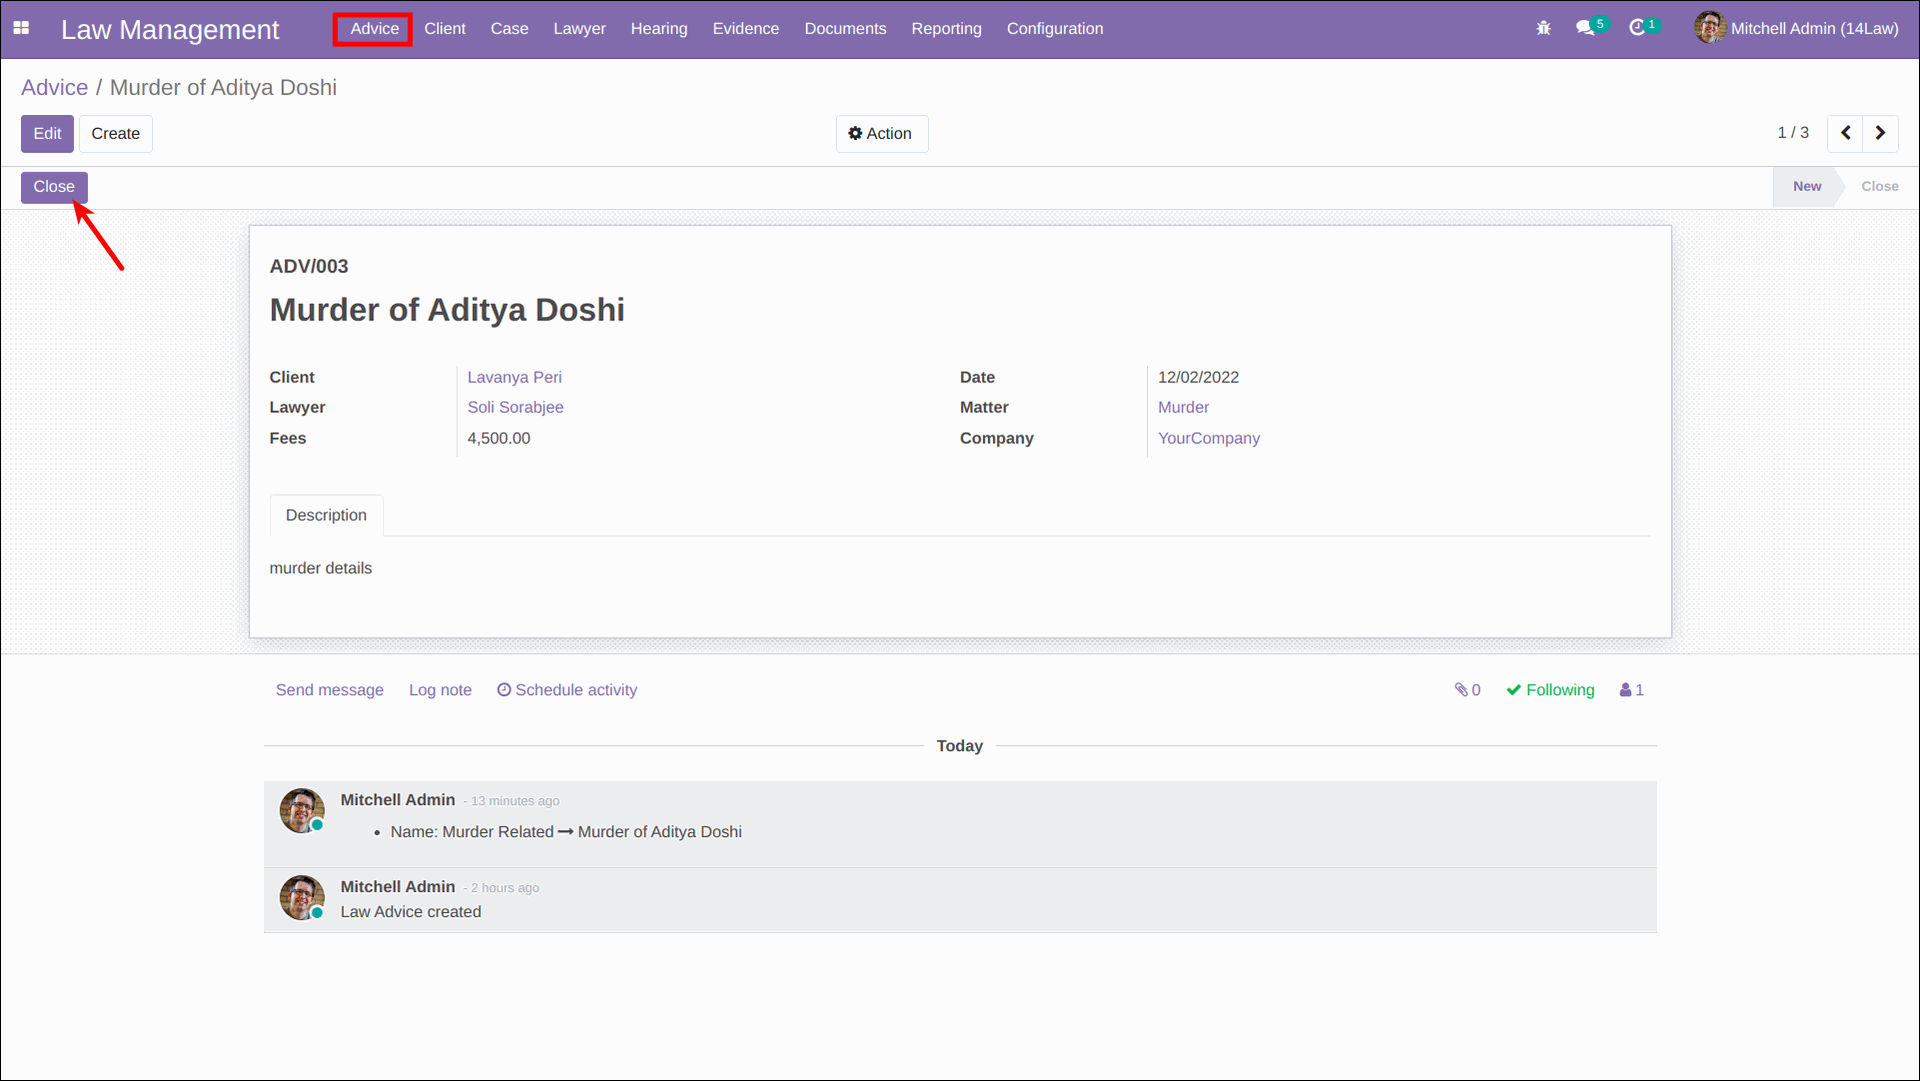
Step 12: Close Advice
- Navigate to the "Close Advice" menu to conclude any advice.
- Enter the reason for the closure and save.
- View the closure reason linked to the advice record.
Step 13: Attach Files to Advice, Case, or Hearing
- Use the pin icon to upload documents to any advice, case, or hearing.
- Keep all files centralized and accessible for future reference.
Step 14: Terms and Conditions
- Add terms and conditions while creating new cases.
- For reference, these terms are displayed during case creation.
Step 15: Collect Feedback
- After a case is closed, clients can provide feedback through the system.
- Select emojis to rate the service; feedback is displayed on the lawyer’s dashboard.
Data Management and Reports
Case Management
- View case data under the "Cases" menu.
- Download and print detailed case reports for records.
Advice Management
- Access advice records under the "Advice" menu.
- Generate and print reports for advice, including closure reasons.
Conclusion:
The Odoo Law and Legal ERP Practices Management System is a game-changer for legal professionals. By simplifying complex workflows, improving data organization, and enhancing client communication, this system empowers law firms to deliver quality services efficiently. Whether you’re managing cases, scheduling hearings, or generating invoices, this solution has you covered.
Visit the DevIntellecs Odoo App Store to explore how this application can transform your legal practice and take it to the next level.
